
Regular oil changes are one of the most important maintenance tasks you can do for your car. Changing the oil in your car keeps the engine running smoothly and prevents costly repairs down the line. While taking your car to a professional mechanic for an oil change is an option, performing the task yourself can save you time and money. In this article, we will provide you with a step-by-step guide on how to perform regular oil changes on your car.

Step 1: Gather Your Tools
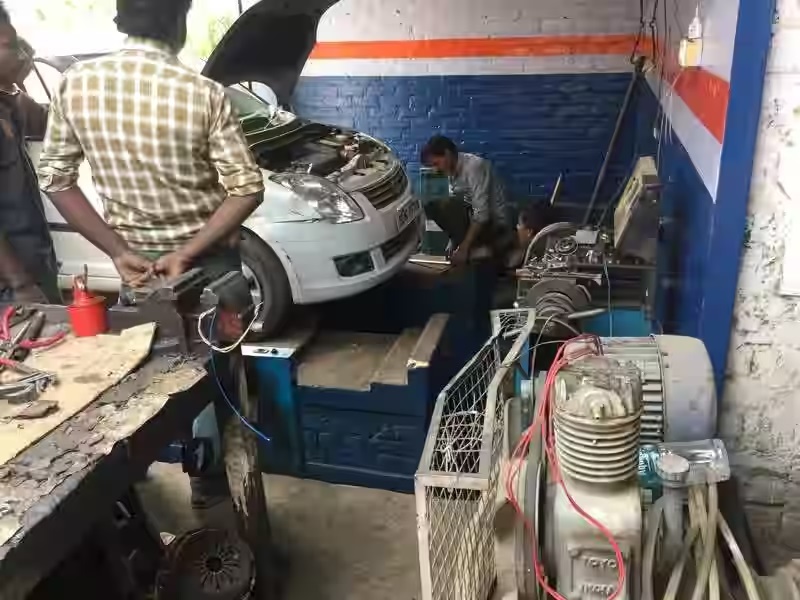
Before you begin, you’ll need to gather the necessary tools and supplies. You’ll need a jack, jack stands, a socket wrench, a filter wrench, an oil filter, and new oil. It’s also a good idea to wear gloves and safety glasses to protect yourself.
Step 2: Prepare Your Car
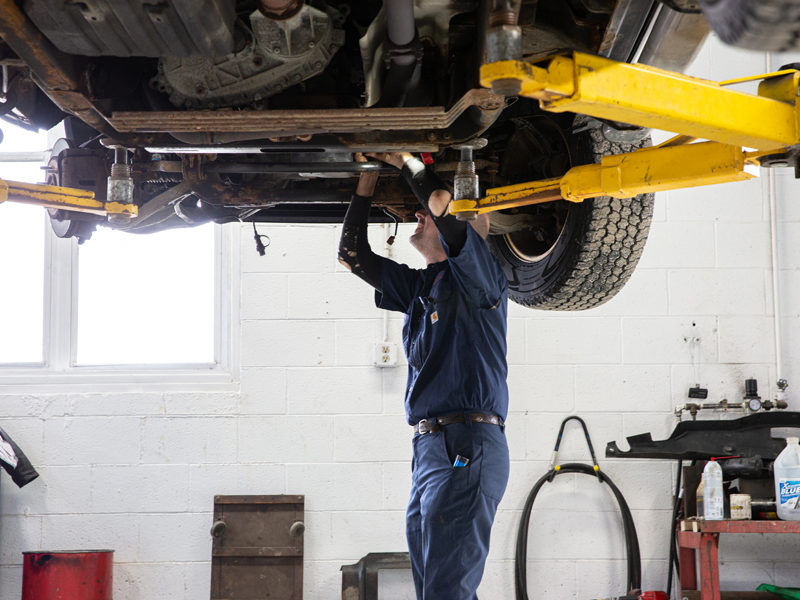
Make sure your car is parked on a level surface, and the engine is cool. Place a container under the oil drain plug to catch the old oil, and use the jack to lift your car off the ground. Be sure to use jack stands to secure the car before getting under it.
Step 3: Drain the Old Oil
Locate the oil drain plug on the bottom of your car’s oil pan. Use the socket wrench to loosen the plug and remove it by hand. Allow the old oil to drain into the container for several minutes.
Step 4: Replace the Oil Filter
While the old oil is draining, locate the oil filter. Use the filter wrench to remove the old filter and replace it with a new one. Apply a small amount of new oil to the gasket on the new filter to create a good seal.
Step 5: Refill with New Oil
Once the old oil has finished draining, replace the drain plug and tighten it with the socket wrench. Locate the oil filler cap on top of the engine and remove it. Use a funnel to pour in the recommended amount of new oil. Check your car’s owner’s manual for the recommended type and amount of oil.
Step 6: Start Your Engine
Replace the oil filler cap and start your engine. Allow the engine to run for several minutes to circulate the new oil throughout the engine. Check the oil level with the dipstick and add more oil if necessary.
Step 7: Dispose of the Old Oil
Once you have finished changing the oil, it’s important to dispose of the old oil properly. Pour the old oil into a sealed container and take it to a recycling center or an auto parts store that accepts used oil.
Performing regular oil changes on your car is a crucial part of keeping your engine running smoothly. By following these steps, you can save money on professional services and perform the task yourself. Remember to always refer to your car’s owner’s manual for specific instructions and recommended oil types and amounts. With a little bit of know-how and the right tools, you can keep your car running smoothly for years to come.
Leave a Comment